How to cut and sew Nigerian blouses
Nigerian ladies love traditional blouses. Sometimes they can express a desire to create their own handmade blouse out of the purchased fabric, in order to stand out from the crowd. If you are wondering how to cut and sew Nigerian blouses, here is a guide for you! Maybe you will learn to do it for yourself, or perhaps it will soon become your business.

How to cut and sew a blouse?
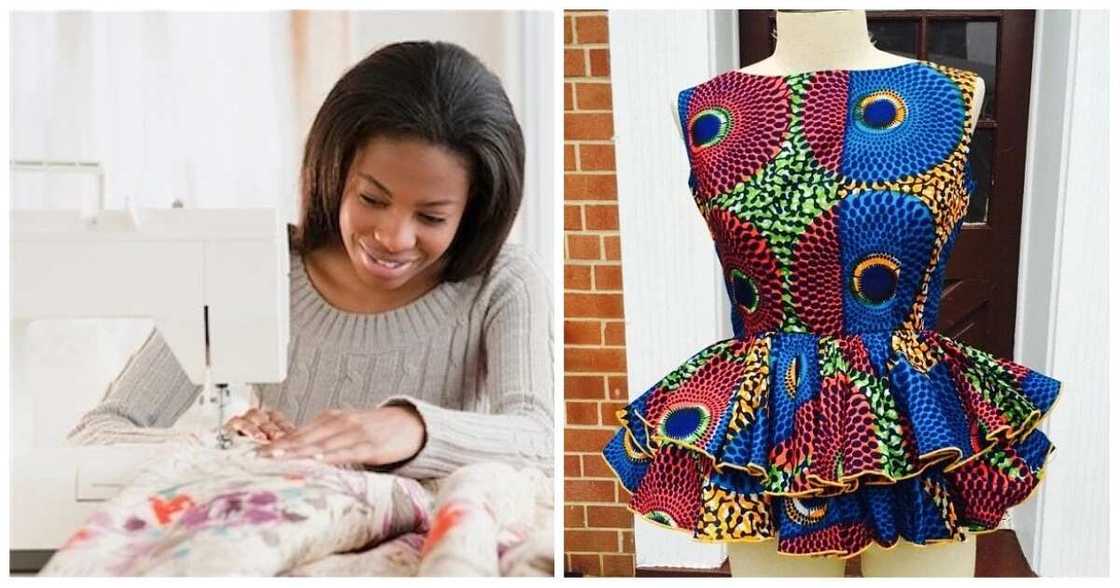
There are many various guides on how to cut and sew padded blouse. First of all, you should know there are a few types of these. The peplum, off-shoulder, and princess darts blouses are Nigerian national pride and the favorite clothing item of many fashionistas. Since there are so many different fabrics that you can make a blouse of, including the multicolored Ankara fabrics which are so popular among Nigerian ladies, many women prefer making their pieces of clothing on their own, instead of buying them in a designer store.
More and more women are interested in DIY (do-it-yourself) guides, which teach them to create amazing things using only a few basic props and imagination. Would you like to learn how to cut a blouse? Or perhaps you are confused how to sew a blouse? Then proceed with the simple guide.

To learn how to cut peplum blouse, you should consider a few major steps:
- First of all, you have to determine which type of blouse you will need. Think carefully about which items of your wardrobe you will be able to wear it. For example, sometimes you can have a white skirt, and you are eager to find a matching white blouse for it, or perhaps you mostly wear casual jeans and want a colorful Ankara blouse to match them.
- Then, you will need to purchase the materials. When you choose the fabric for your outfit, you have to take into account that some fabrics are more suitable for wearing them in everyday life, and some are more festive – for different celebrations and special events. For example, you can wear the cotton or Ankara blouses every day. However, the outfits made of silk or lace are more for celebratory occasions. You are recommended to pick universal colors which go well with almost every outfit – gold, silver, black, white, light-blue. After all, you would not want to wear this blouse once and then abandon it forever.
- The next step would be taking measurements from your body.
- You will have to draw the patterns on the paper and cut the fabric according to them.
- When the blouse elements are already cut, you will have to sew them together.
- Keep in mind that when you are cutting the blouse, you should add a few centimeters on every side of it. It is called over-measuring.
- The most important thing about making a blouse is fitting into it. You will have to try your patterns on to determine that it sits perfectly on your figure.
- After the fitting, you will have to sew the seams with the help of sewing machine or manually, and sweep all the edges.
- The final step will be removing all the unnecessary threads and seams, sew the buttons if they are necessary, add zippers or other elements that you would like your blouse to have.
- Congratulations, now your blouse is ready, and you can put it on!
These steps are standard when you want to cut and sew a new outfit. Now, we will explain to you how to cut different types of blouses.

How to cut off-shoulder blouse?
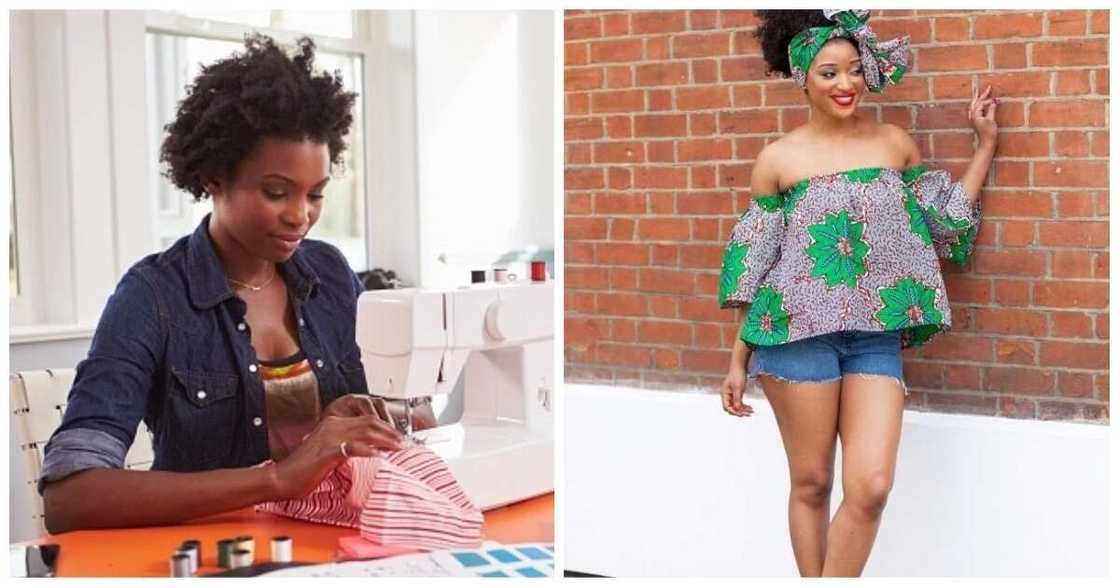
The off-shoulder blouse looks extremely interesting and charming. If you like showing your shoulders and collar bones, you will definitely appreciate this top. It can be easily and quickly cut and sewn – you will totally be able to do it yourself.
- First of all, you have to take the measurements for your bust round, hip round, and where the frill would lie.
- Proceed to cut out the pieces of the pattern. You will need two of them – the front bodice and back bodice one.
- Then, you will have to cut out the piece of frill. For this, you can use the flowy fabric. You will need to apply the measurements that you have done around the shoulders, near bust. These measurements have to be multiplied by 2.5 or 3. This will be the perfect length that you will need for the frill.
- As a next step, you have to join together these fabric pieces. The best solution would be making French seams because this way your fabric edges will be cleaner. If you want more guidance on using French seams, you can check out some useful tutorials.
- The strips have to be joined together – this way the tube will be created. Then, you should fold the top edge of your fabric (approximately one inch), and stitch along it.
- Then, complete the bottom edge manually or with the sewing machine. Insert some elastic material, and you will have the frill ready.
- Afterwards, you will have to take care of bodice part. According to the measurements, prepare front and back parts, and then sew them together from the outer side.
- The final step would be carefully stitching the frill to the bodice part. Voila, your beautiful off-shoulder blouse with a frill is ready!
READ ALSO: How to make bags from old jeans step by step

How to cut princess dart?
The princess dart blouse is for those who are not a big fan of wearing sleeves. Shortly, this is a sleeveless blouse, which makes it easier to cut and sew. They are super popular in Nigeria, and every lady dreams of getting herself one. Here are some basic guidelines on cutting and sewing such kind of blouse. There are a few ways of doing it, but we will tell you how to cut it from the armhole and shoulder.
To cut the princess dart blouse from the armhole, see the next steps.
- You should take a pattern of your choice for making a bodice part, and fit it so it would match your measurements. They have to fit your waist and bust ideally – only this way you can proceed with making a blouse.
- Draw the straight lines from both darts – namely, from their widest ends. For that, you will have to put them in the middle, and then draw on them until they cross together.
- To create a princess dart seam that starts from the armhole, you will need the curvy ruler. Put it in the middle of your armhole, and draw a curved line from there to the cross place of two darts. Above the bust, you have to mark a 5 cm spot. This step will help you to sew the parts together easily.
- Afterwards, you should draw a straight line, starting from the dart point and following the way to the edge of your waist dart.
- Grab scissors and cut along this line. Now, you have got two panels – middle-front and side.
- Cut the side panel into two pieces, following the low line of bust dart. Then, two pieces should be put together along the top line of bust dart. You can use a scotch tape to connect them.
- Then, cut off the amount of fabric that was left from waist dart. Cut it all the way to your bust point.
- The next step would be putting your pieces – middle, side and front one – all together. Mark the spot below the dart point – approximately 5 cm.
- Think of the grain lines for both side and middle parts. While the side piece needs to have a grain which is perpendicular to waist edge, the middle piece needs to have a parallel grain to the fold (the fold is a center-front seam).
- Add a half of the centimeter as a seam allowance. Do it on each side of the seam.
- Then, sew all your parts together using the machine or your own sewing skills.
Now, we will tell you about the shoulder blouse-cutting method. This is fairly easy if you are familiar with cutting and sewing.
- Prepare a pattern with two darts to make a bodice part. In this method, both front and back pattern pieces will have to be worked with.
- To start with, draw a straight line, which will start from the middle of your shoulder and then go through the bust point. It has to go along the edge of the waist dart, and then reach the lower line of the pattern. Mark 5 cm above and below dart point.
- You will need a ruler to measure 2 cm from dart point, and to the beginning of your bust dart. You have to mark it and then draw the line from the middle of your shoulder (the same as before) towards this mark. The line needs to be continued all the way to the other edge of waist dart.
- Now, you can cut along these lines that you drew. The final result has to be two parts of the front pattern, with blank space in-between.
- Then, you should make a pattern out of the left side. You should transfer all the marks. Cut the dart to the marked point and tape these parts together.
- Shape the pattern with the curvy ruler so it would fit the blouse’s bodice. You will have to make certain that all the seams are of equal size.
- In case you are feeling like it would be fitting tight, you should cut it to the side seam from bust point, mess with the parts how you like, and transfer the shape on the newly pattern.
- The back part has to have the shoulder dart and waist dart. You have to draw the line from the dart edge to the fold of waist dart’s highest point. Mark both points.
- Your next step would be cutting the pattern into two parts. You will have to do it along the new drawn line on both sides of waist dart. Always remember about the checking of seam lengths.
- Add 1 cm of fabric for the side seams, and 0.5 cm for the neck seams.

How to cut peplum blouse?
Peplum blouses are what Nigerian women have a special place in their hearts for. They are modern and stylish, and at the same time elegant and feminine. They also help the women with everybody type cover their imperfections. Every person who knows something about cutting and sewing would be able to create a great peplum blouse on their own. Here is your guide;
- First of all, as usual, you will have to choose the suitable pattern. There are special patterns for blouses that have cutting guides on their package.
- Measure your body and write down all the numbers. Peplum blouses focus on the hips, waist, and bust.
- You will have to cut out the following pieces: bodice front and back, the peplum front and back, and the sleeves (you also can cut and sew sleeveless blouse).
- To create the fitting shape, you will have to make the darts on front and back pieces, and then carry the marks from piece of paper to the outer side of your fabric. Then, you will need to sew the darts.
- The darts have to be pressed away from the central area. If you use a ham, it will help you make the darts smooth. When you sew the dart, the fabric will stop being flat, which is why it would not help if you press it on the flat surface.
- When you have sewn all the possible darts, you will have to sew the peplums to their corresponding pieces of the bodice. The right sides need to be put together, pinned, and sewn.
- After you have stitched your blouse, you need to complete the seam allowance. You can use serger finish if you have one, or pick the overcast stitch or a zigzag.
- The next step will be sewing in a zipper because you will need it for putting on the blouse and taking it off easily. Some people like the regular zipper, while some go for the invisible one. Just sew it in and complete the rest of seam.
- This step is important for forming the body of your blouse. You will have to sew the front peplum and front bodice together with the back peplum and back bodice. Also, you will need to sew shoulders and side seams together with their corresponding sides. Similar to the waist seam mechanism, you will have to get done with the seam allowance, and then press to the back.
- Fold your sleeves in the halves, then put them to the right sides and sew them to the blouse. When you are occupied with the sleeves, the special sleeve board can ease your work. You should try your best to create the smoothest seam possible.
- One of the final steps would be finishing the neckline. For that, you should put the binding together with the neckline and then stitch them together.
- Then, finish the hems on the sleeves and along the peplum by folding up your fabric inside the garment. With this, your iron can be a huge help.
- You are done! Now, you can try on your beautiful new blouse.

Hopefully, you enjoyed the process of cutting and sewing a blouse by yourself. Every time we do something on our own, we feel incredible power and strength because we realize that we are able to create something. We believe that your blouse turned out great and you will soon show up in it at work or some official event.
If you are uncertain about cutting blouses on your own or the recommendations seemed complicated to you, then you will have to watch the video. Perhaps you will understand it better from the visual representation. Good luck!
READ ALSO: How to cut a blouse for sewing?
Source: Legit.ng


